QuietWarmth Joist Heat Mats

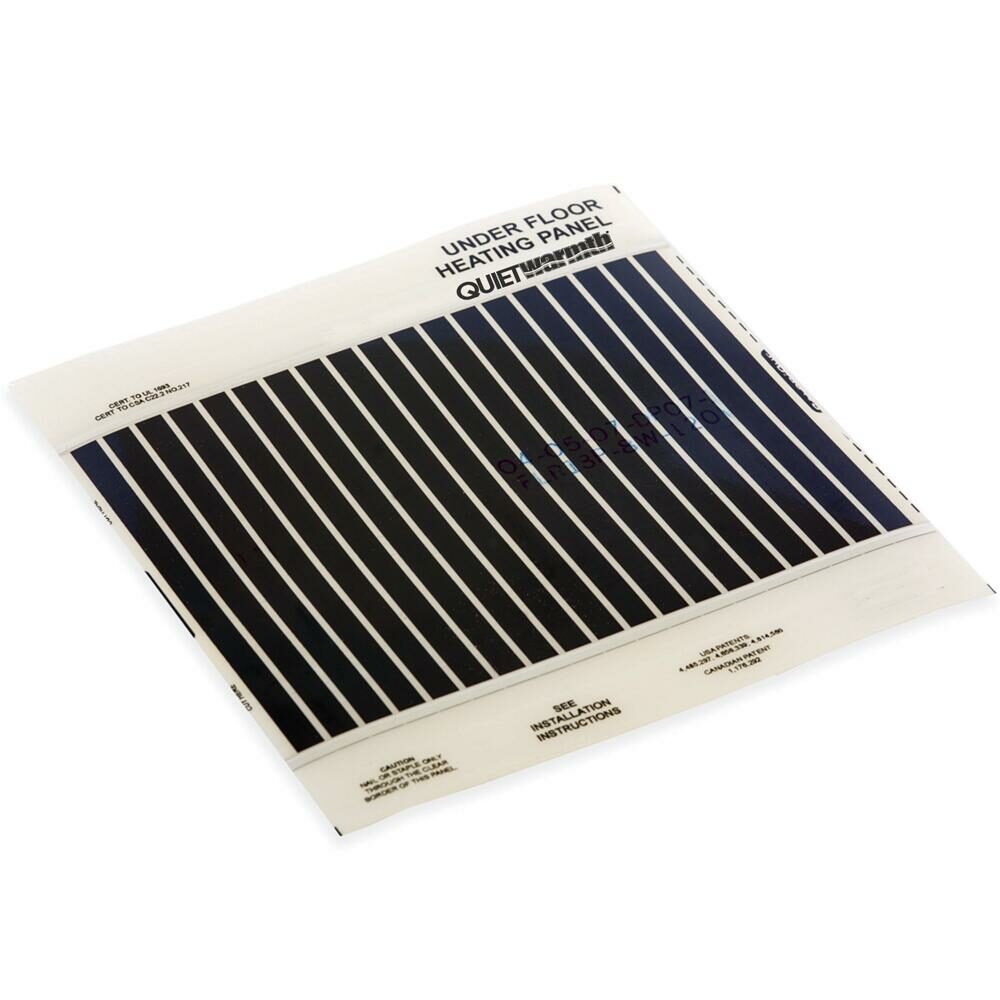
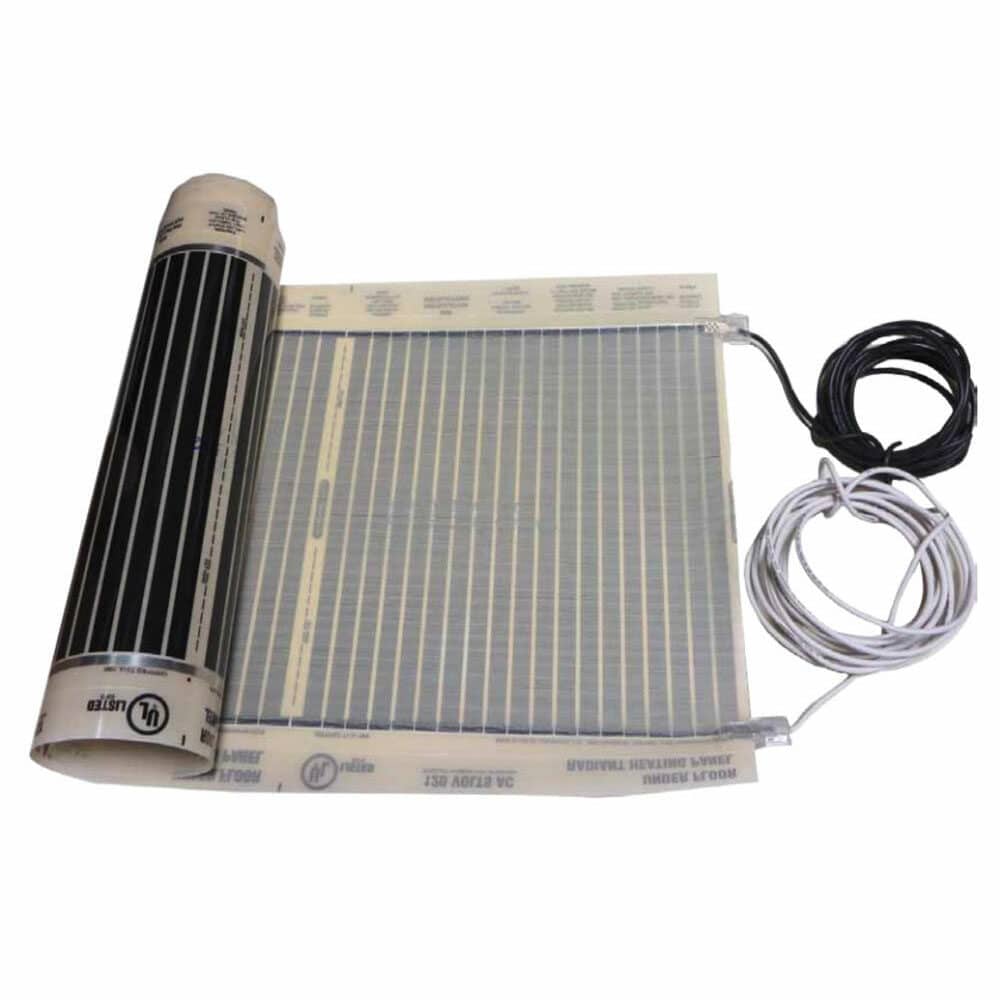
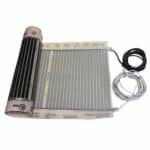
QuietWarmth Joist- Retrofit Radiant Floor Heating Mat for Under Existing Floors and Subfloors

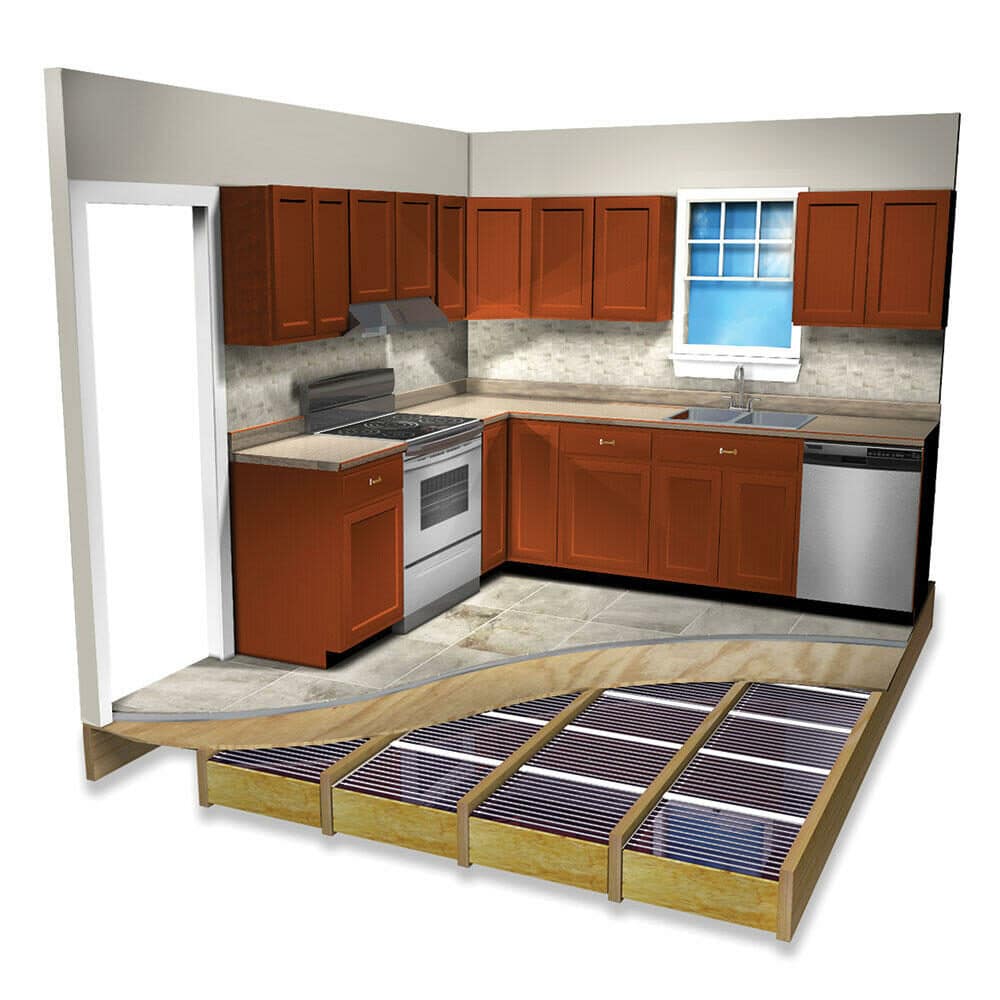
  • Electric floor heating for existing floor joist 16" on center
  • Easy to install radiant floor heating mats - cut to length
  • Keep feet warm w/ cost-effective electric floor heating system
16" X 5' (6.7 sqft)120VQWJOIST17X5120 16" X 10' (13.3 sqft)120VQWJOIST17X10120 16" X 15' (20 sqft)120VQWJOIST17X15120

Features

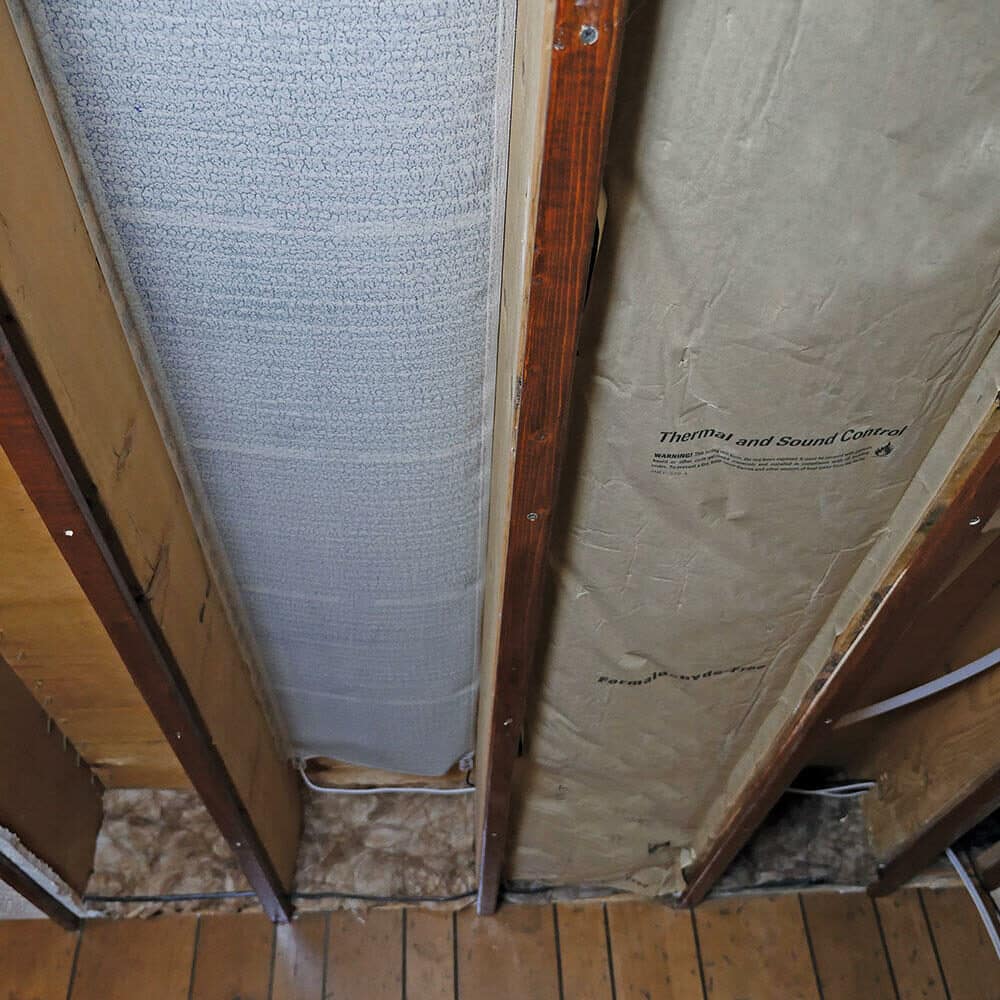
Ultra-thin, conductive ink film technology, for existing floors

Ultra-thin, conductive ink film technology, for existing floors

10 watts per sq ft

10 watts per sq ft

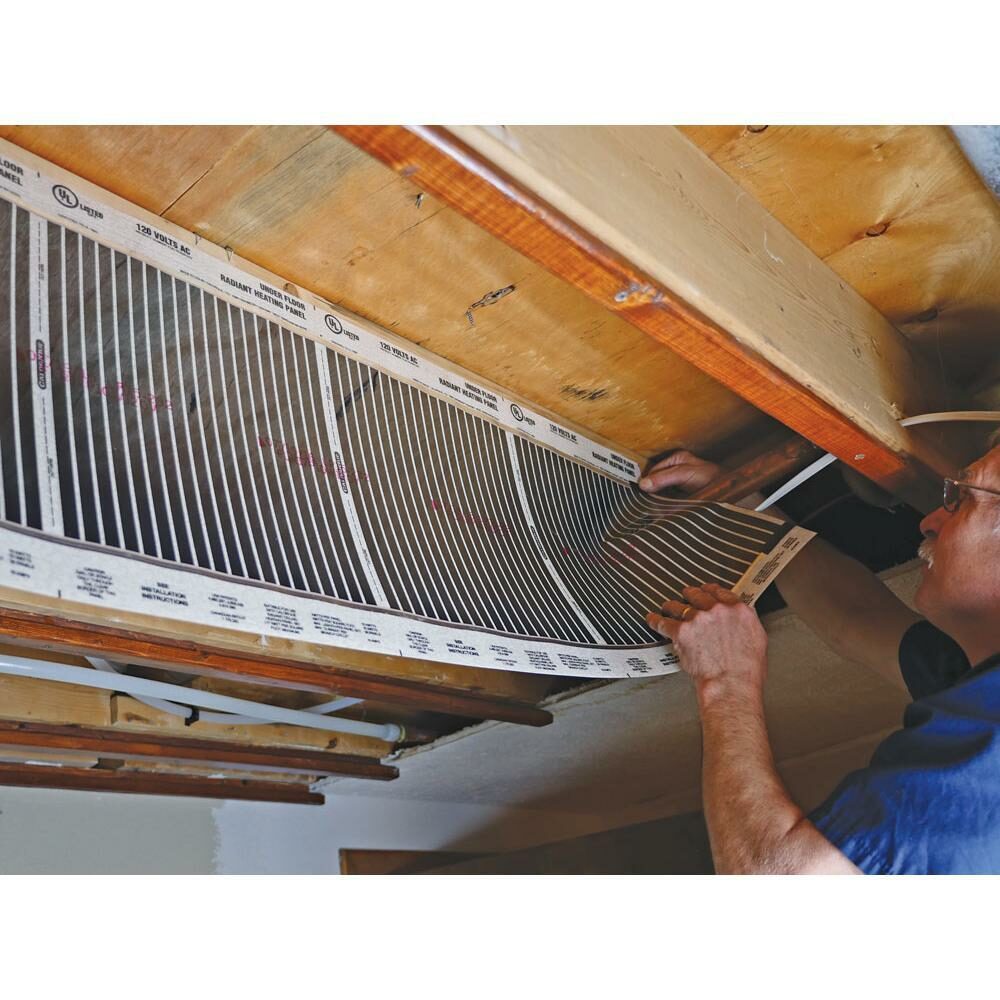
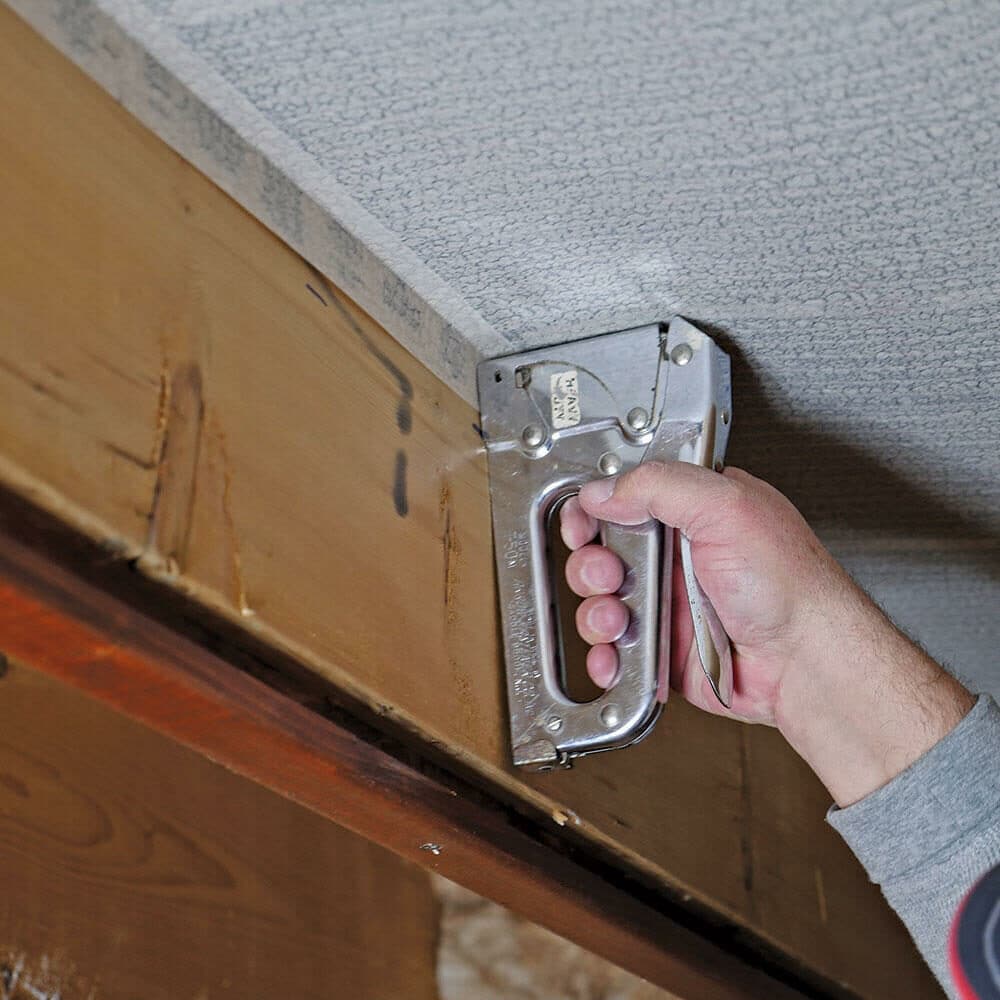
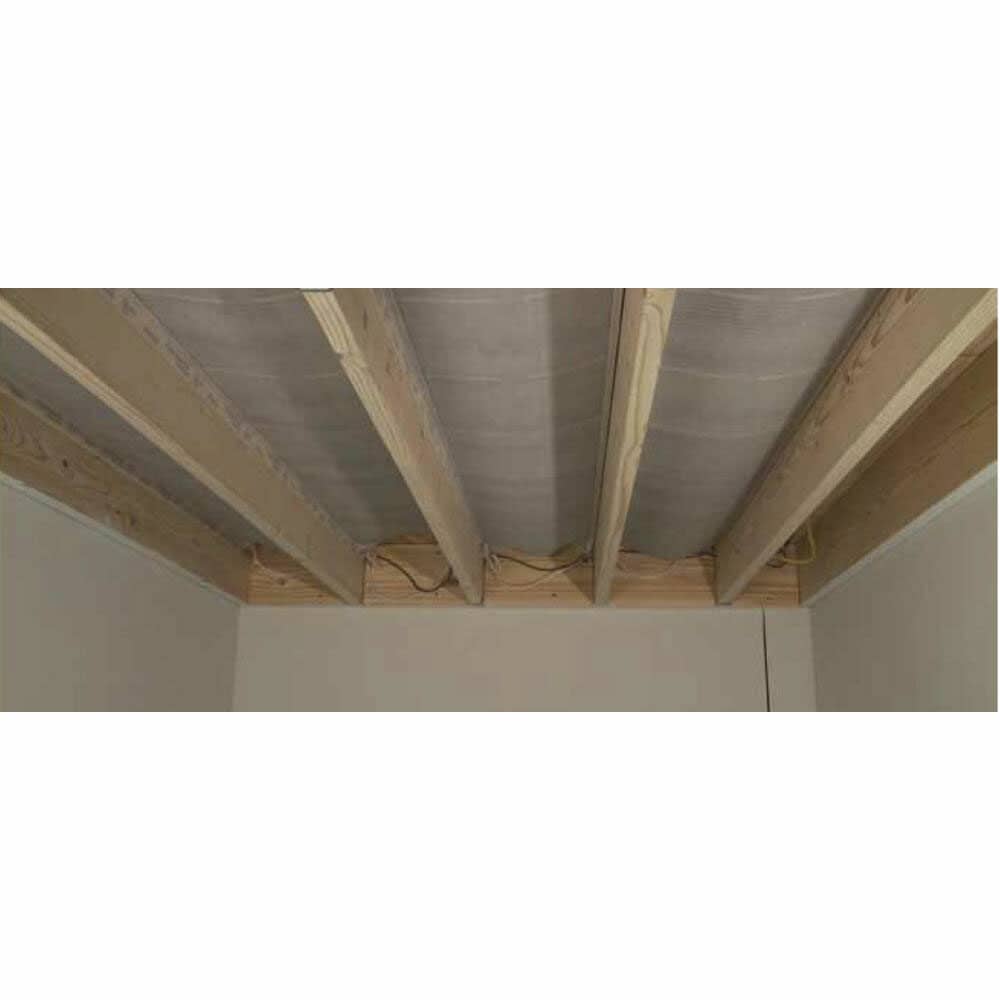
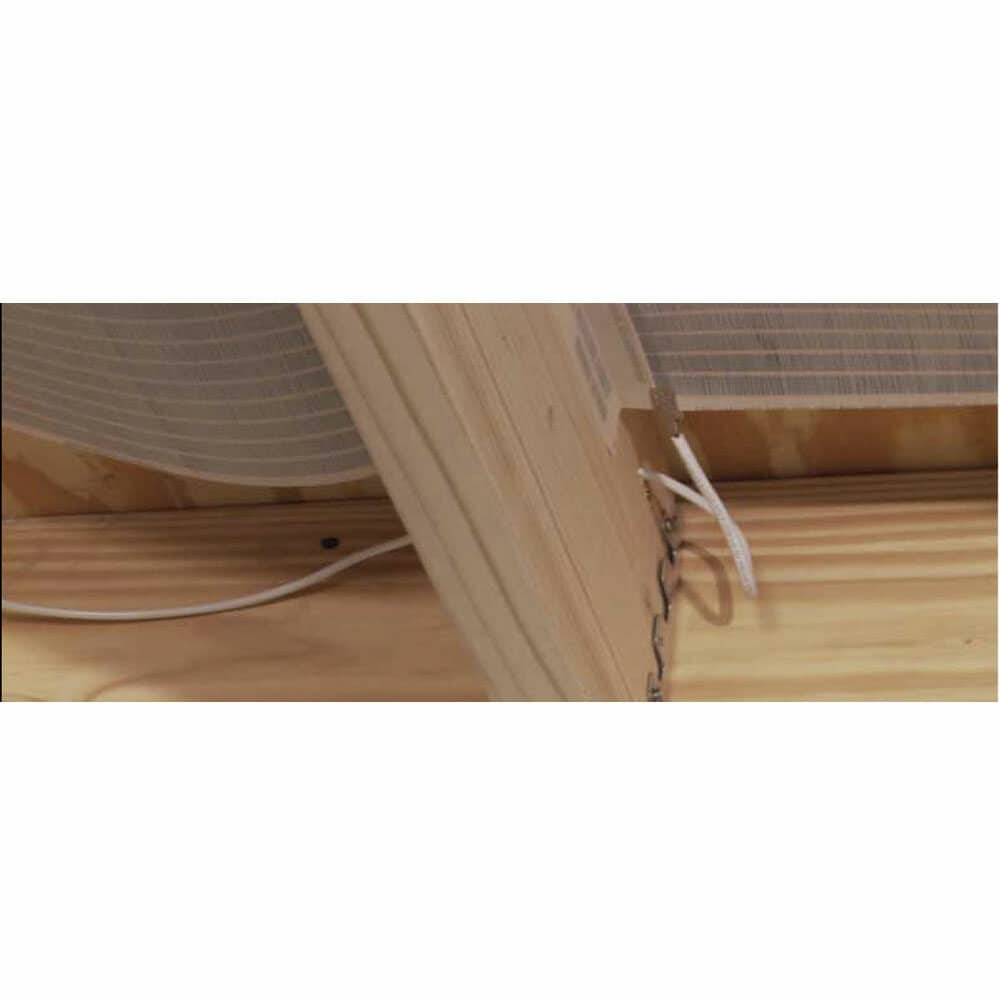
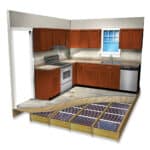
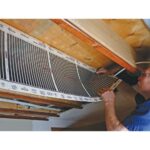
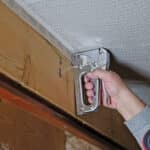
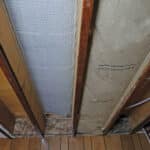
 Staple between joists below subfloor, wire multiple panels together in parallel.

Staple between joists below subfloor, wire multiple panels together in parallel.

 Cut to fit length

Cut to fit length

 Great for 16 inch OC joist

Great for 16 inch OC joist

 Energy efficient: up to 5¢ per hour (based on 60 sq ft area)

Energy efficient: up to 5¢ per hour (based on 60 sq ft area)

 Available in 120V/240V

Available in 120V/240V

Installation Time

Installation Time

45 minute installation time (based on 60 sq ft area)

 UL listed for safety

UL listed for safety

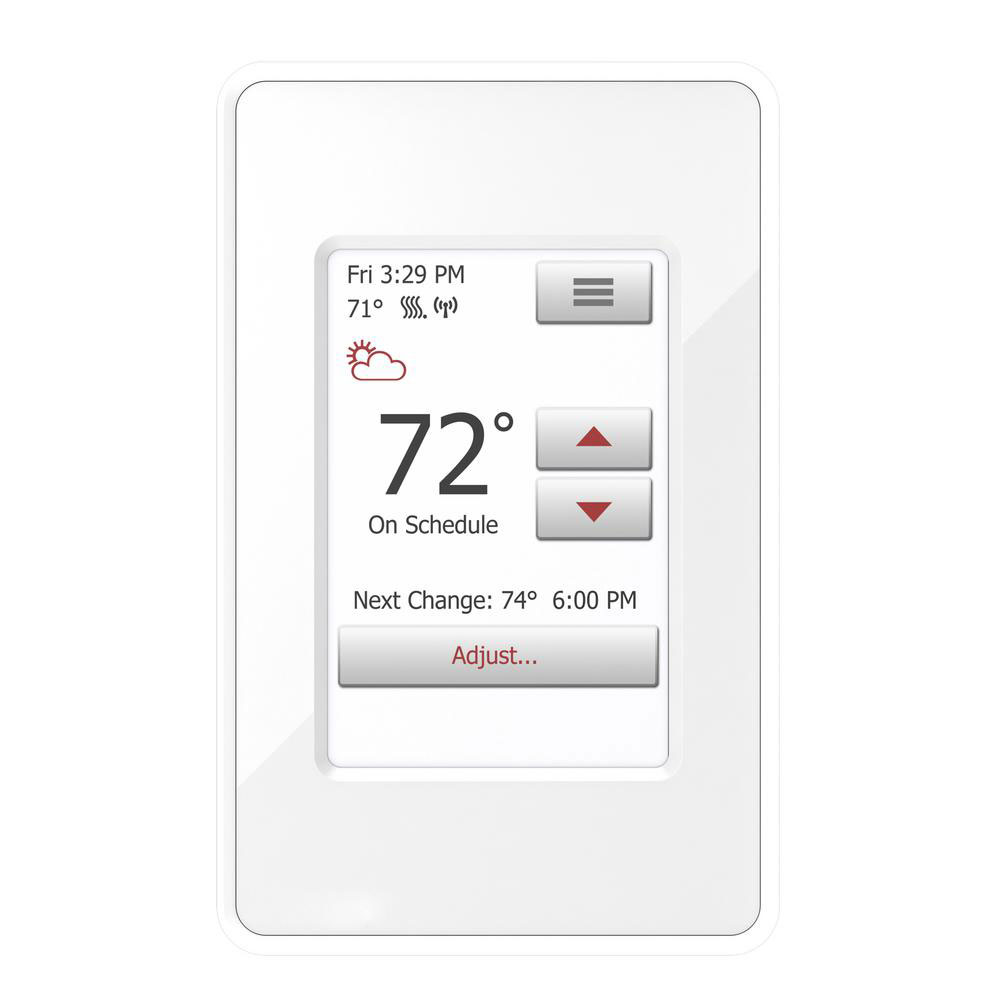
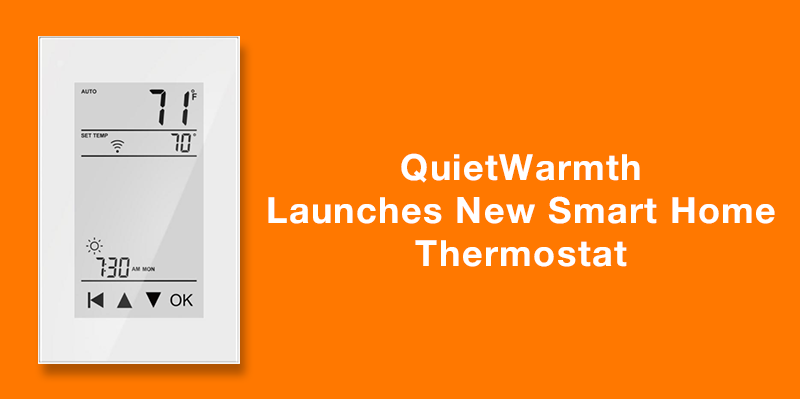
 Control temperature with an available floor sensing thermostat

Control temperature with an available floor sensing thermostat

FAQ's

The QuietWarmth Float and QuietWarmth Joist systems can be powered on right away. The QuietWarmth Tile system should remain off for 28 days to allow the thinset to fully cure.

The thermostat operates the system more efficiently with the floor sensor. For floating flooring, if you can take up some rows and install the floor sensor close to a mat, that is best. Another option is if you are able to access the subfloor from below, you can drill into the subfloor at an angle and secure the floor sensor from below close to where a heat mat is located, but you must be VERY careful not to penetrate all the way through the subfloor as you risk damaging a mat or potentially your flooring. If you have a tile floor and your grout lines are big enough, you could remove the grout and inlay the sensor in a grout line, then re-grout. If none of those are viable options, then the thermostat can be operated with the room temperature feature.

No, the circuit used must be dedicated for the thermostat only. Having other lines on the same circuit will cause nuisance tripping.

In some cases, QuietWarmth can be the primary heat source for a room. This is entirely dependent on the type of subfloor, how well insulated the room is, and percentage of the room that is covered by QuietWarmth mats. We are unable to accurately predict if QuietWarmth would be sufficient to heat your room. That would require a heat-loss calculation to be performed in your home by a qualified individual.

You can use a high quality insulating electrical tape in place of the Kapton discs.

We do not recommend using a damaged mat as this could cause a safety hazard.

If you have not installed your flooring yet, it is unlikely that the mat will feel warm to the touch. The mats themselves do not have enough thermal mass to build heat. If your resistance readings are in the proper range, then the mats are working properly and you should proceed with installing your flooring.

Right out of the box, take an Ohm’s reading and compare it to the chart in the installation manual for the size and voltage of your mat. It should be between the low and high range. If you cut the mat, take another reading and compare the reading to what the chart says it should be for the NEW size of the mat. When the mats are cut, the resistance WILL go up.

QuietWarmth mats will not heat above 85°F, making it a safe option for many types of flooring. If your flooring is approved for any type of radiant heat, it is safe to install over QuietWarmth. Care needs to be taken to ensure the heat is not trapped by flat bottom furniture, area rugs, “pouf” style ottomans, mattresses, etc as this may cause damage to the mats or flooring and is not covered under warranty. Proper airflow on the top of the flooring surface is essential to ensuring excessive heat does not build.

We do not recommend using area rugs directly over the QuietWarmth mat locations, as this could lead to excessive build-up of heat and potential damage. If you are concerned about safety when stepping out of a shower or bath, we recommend using wooden slat bath mats or picking up the bath rug after your feet are dry.

No, these mats are not rated for outdoor use.

No, the QuietWarmth heat mats should not be installed underneath walls, cabinets, bathtubs, vanities or any flat-bottomed furniture. You can install the mats below furniture that has “feet” and allows for airflow between the floor surface and the bottom of the furniture.

Yes. You can connect up to 120 sf of 120V mats, or up to 240 sf of 240V mats to each thermostat or power module on their own dedicated 20A circuit.

The best place to install the floor sensor (included with the QuietWarmth Thermostats) is parallel to the long side of one of the mats, within 1” of the side of the mat. If you cannot reach the long side, then position it as close to the end of the mat as possible. The floor sensor wire should not run under or over any of the mats.

Yes, you need to connect the mats to a thermostat. For best efficiency, the thermostat should have an in-floor temperature sensor. Mats should not be direct-wired to the power source.

QuietWarmth Float– No, there is no top or bottom to the mats.

QuietWarmth Tile– Yes. The bottom of the mat has an adhesive to bond the mats to the subfloor, covered by a clear film. The bottom of the mat will look shiny because of this release film. Do not remove the film until you have the mats positioned exactly where you want them; the adhesive is very aggressive!

QuietWarmth Joist- Yes, the pale yellow side of the mat is facing the installer as you look up at the ceiling. The black bars are facing the under side of the subfloor.

No. If the thermostat or power module is not reachable by the 15’ lead wires, install a junction box in the wall where the leads can reach. Connect leads in junction box & use 12/2 Romex between junction box and the control device.

The factory-attached lead wires (wires that supply power from the thermostat to the mat) are 15 feet long.

Yes. You can connect up to 120 sf of 120V mats, or up to 240 sf of 240V mats to each thermostat or power module on their own dedicated 20A circuit.

QuietWarmth Float 2-in-1 mats have lead wires attached to both ends so they can be cut and both sections used. For the standard QuietWarmth mats, the cut off portions of the mat cannot be used and should be discarded.

Yes, QuietWarmth Float and QuietWarmth Tile mats can be cut between the black bars to length. They cannot be made narrower. Follow procedures outlined in the install manual to notch back the silver bus bars and insulate the ends. QuietWarmth Joist mats must be cut at the panel indicators every 12″- they cannot be cut to any length.

No, mats need to be wired in parallel (all leads for each zone must join together in the junction box).

The type of mats you need is dependent on the type of flooring you are using.

QuietWarmth Joist– retrofit, install under the subfloor between the joists. Can be installed under existing floors including carpet, but you must have access from below. Note your joists must be spaced 16” on-center for

QuietWarmth Float– install under floating flooring, provided it is a minimum of 4mm thick

  • Laminate
  • Resilient Vinyl
    • LVT/LVP (Luxury vinyl tile/plank)
    • Rigid-Core
    • Hybrid Resilient
    • WPC (Wood-plastic composite)
    • SPC (Stone-plastic composite)
    • EVT/EVP (Enhanced vinyl tile/plank)
  • Click-together or tongue/groove glued engineered wood (including bamboo and cork)

QuietWarmth Tile– designed for tile or glue-down flooring, provided it is a minimum of 4mm thick

  • Traditional tile (installed with thinset/mortar)
    • Ceramic Tile
    • Porcelain Tile
    • Natural Stone Tile (marble, slate, travertine, etc)
  • Glue-down solid or engineered wood (including bamboo and cork)
  • Can also be used under floating flooring types

Ensure the flooring you are using is “Radiant Heat Approved”. This information can often be found in the product specifications or the installation instructions.

Customer Asked Questions

View All Questions

If you are looking for a test report please send an email to info@mpglobalproducts.com and specify the product and type of report you are needing. We would be more than happy to email you a copy of any testing data that we have.

Reviews

Leave Reviews

Compatible Floorings

Where To Buy

Distributor

Click here to view distributors

Online Store

Click here to view online retailers

Find Distributor

To help find a local distributor in your area with the right inventory levels, please fill out the form below.

Become a Distributor

Hidden
Name(Required)
Address(Required)
Hidden

Find In-Store

Become a Dealer

Enhanced Content