

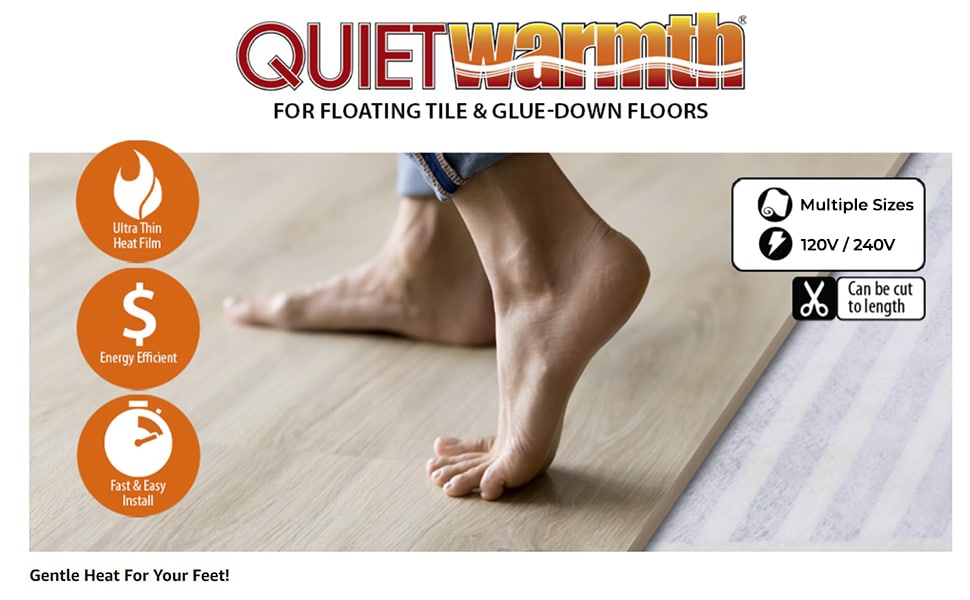


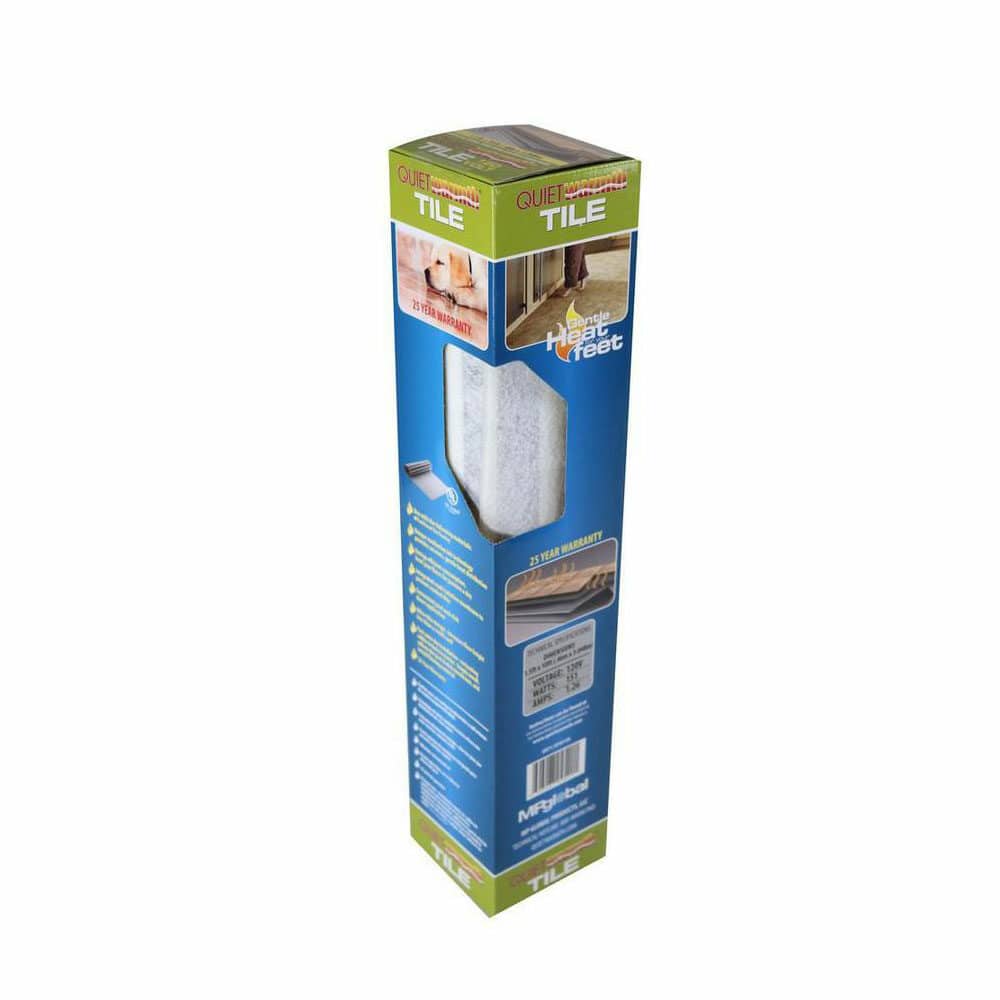


QuietWarmth Tile Heat Mats
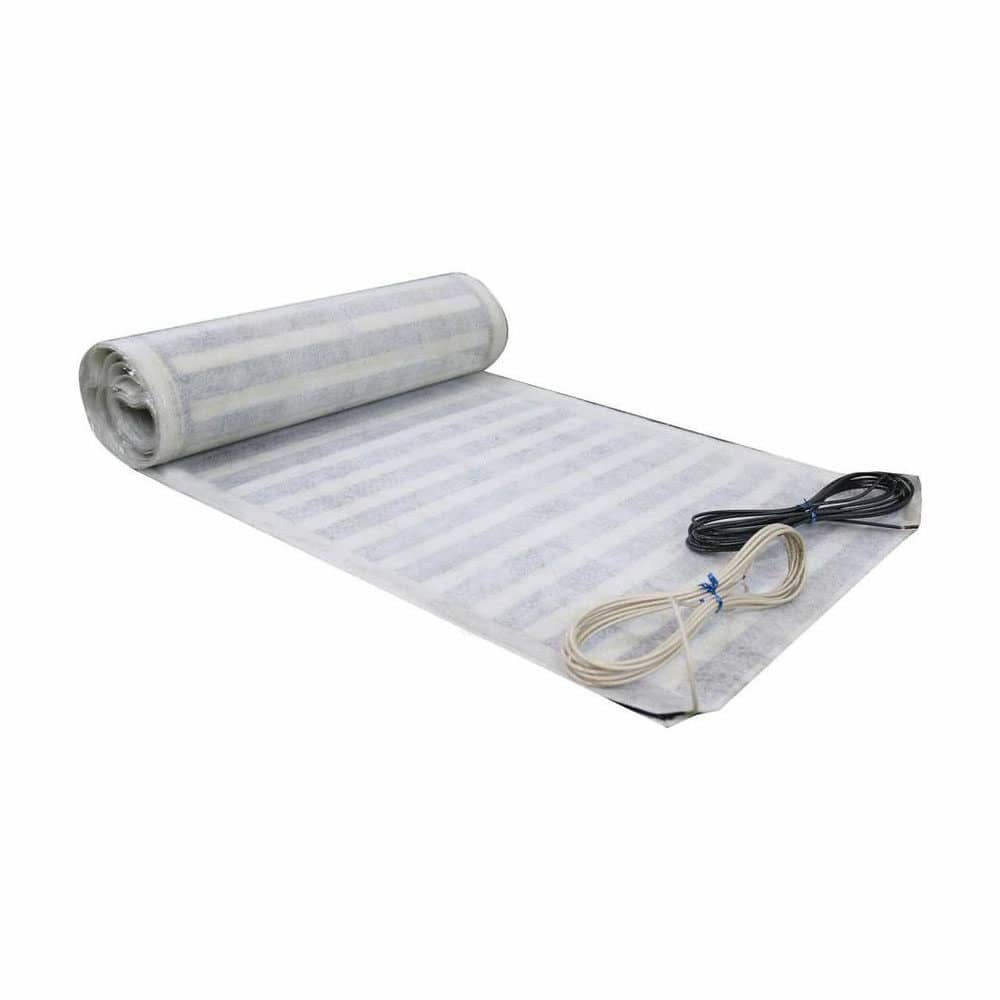
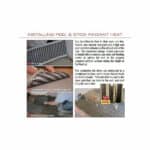
QuietWarmth Tile- Peel and Stick Radiant Floor Heating Mat for Traditional Tile or Glue-Down Floors
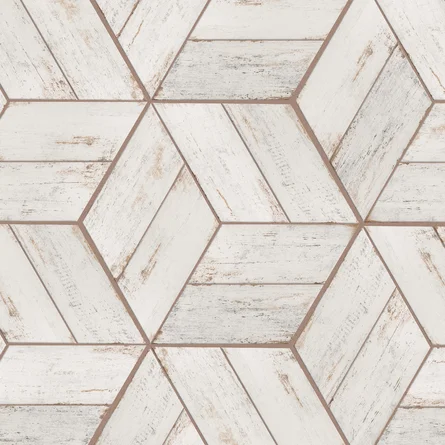
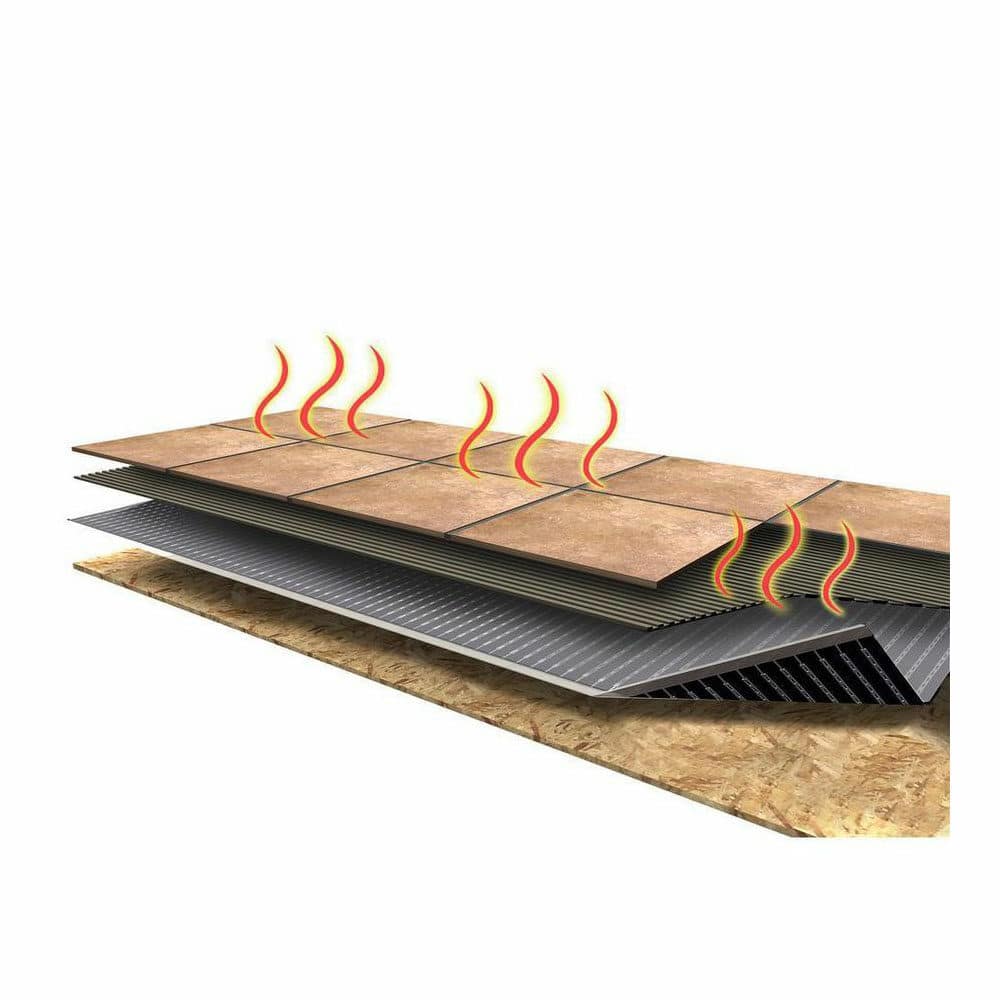
- Floor heating for ceramic, porcelain, and natural stone tile or glue-down floors
- Easy to install radiant floor heating mats - cut to length
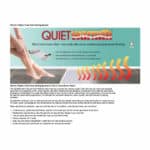
- Keep feet warm with cost effective electric floor heating system
Tile 1.5' x 5' 120V 7.5 sqftQWT1.5X5F120
Tile 1.5' x 10' 120V 15 sqftQWT1.5X10F120
Tile 3' x 5' 120V 15 sqftQWT3X5F120
Tile 3' x 10' 120V 30 sqftQWT3X10F120
Tile 1.5' x 5' 240V 7.5 sqftQWT1.5X5F240
Tile 1.5' x 10' 240V 15 sqftQWT1.5X10F240
Tile 3' x 5' 240V 15 sqftQWT3X5F240
Tile 3' x 10' 240V 30 sqftQWT3X10F240
Features
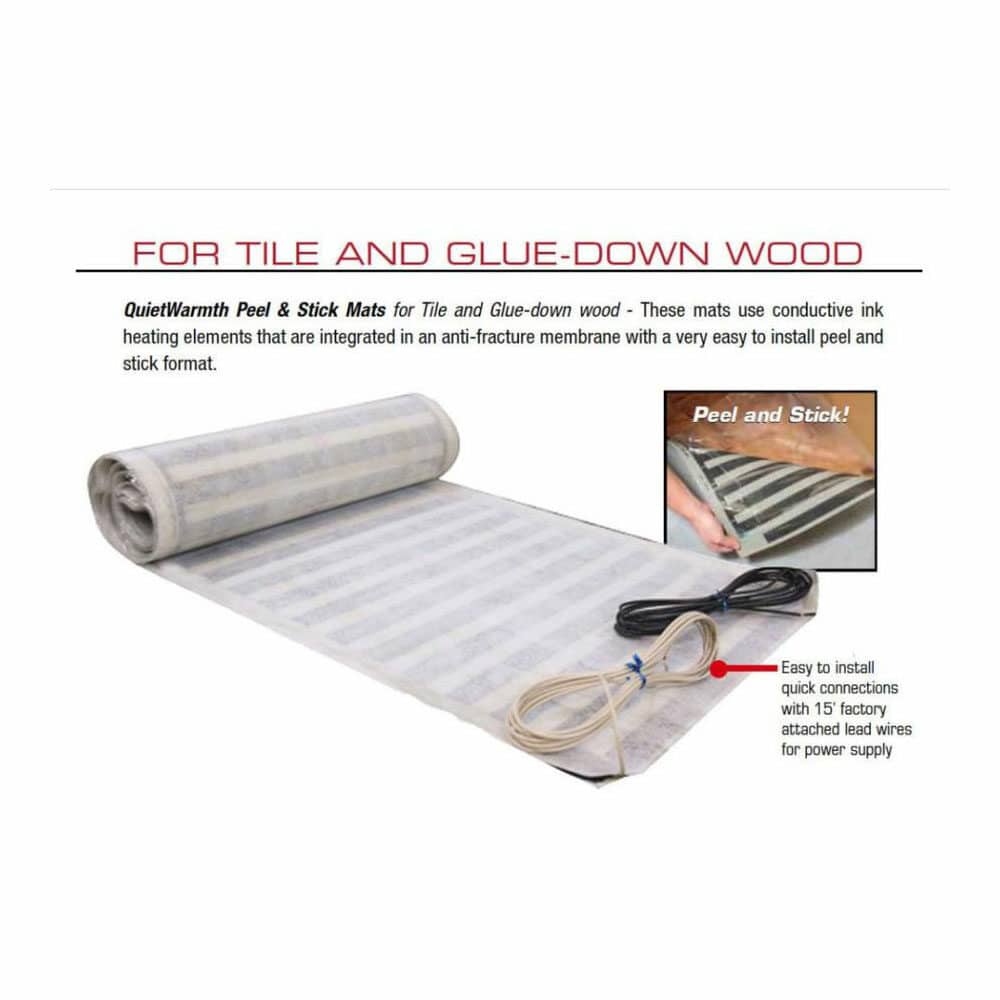
Ultra-thin, conductive ink film technology
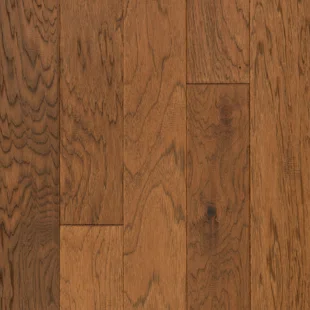
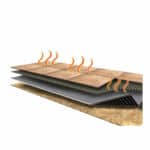
For ceramic, porcelain, and natural stone tile or glue-down wood and other hard surface flooring.
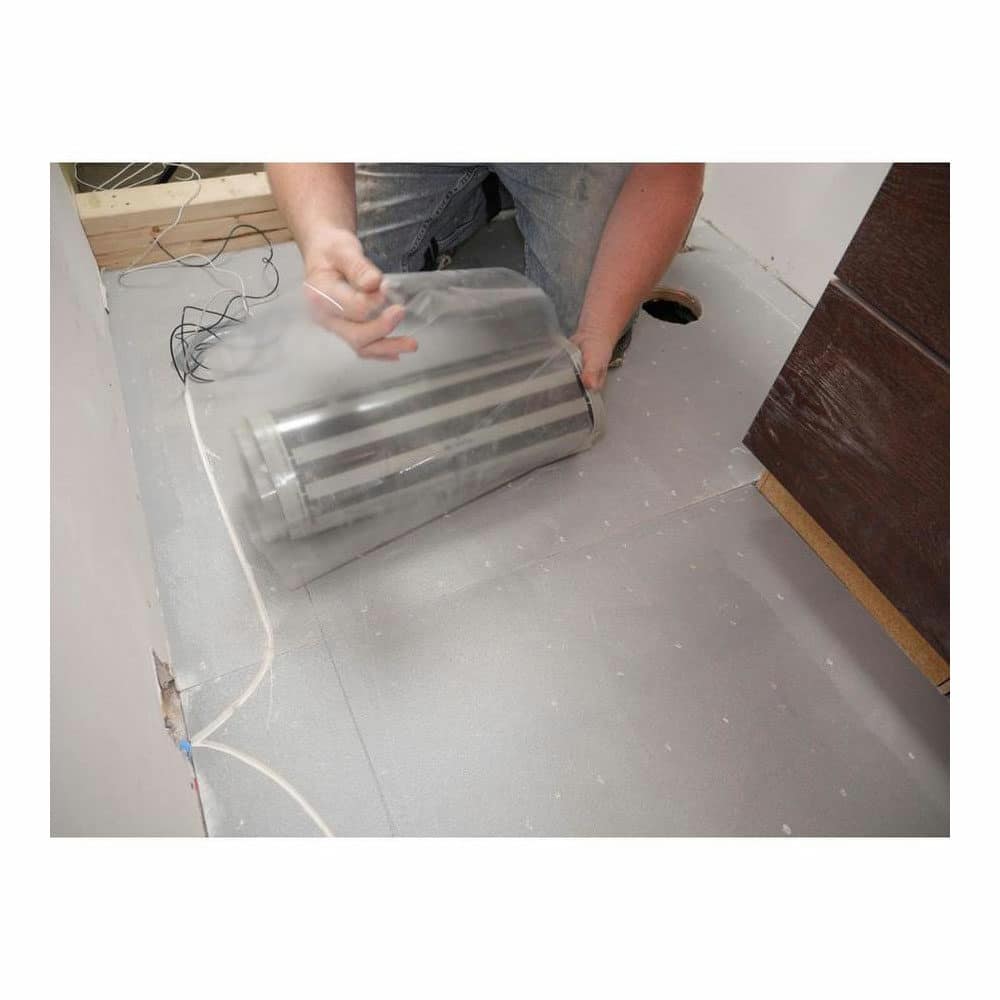
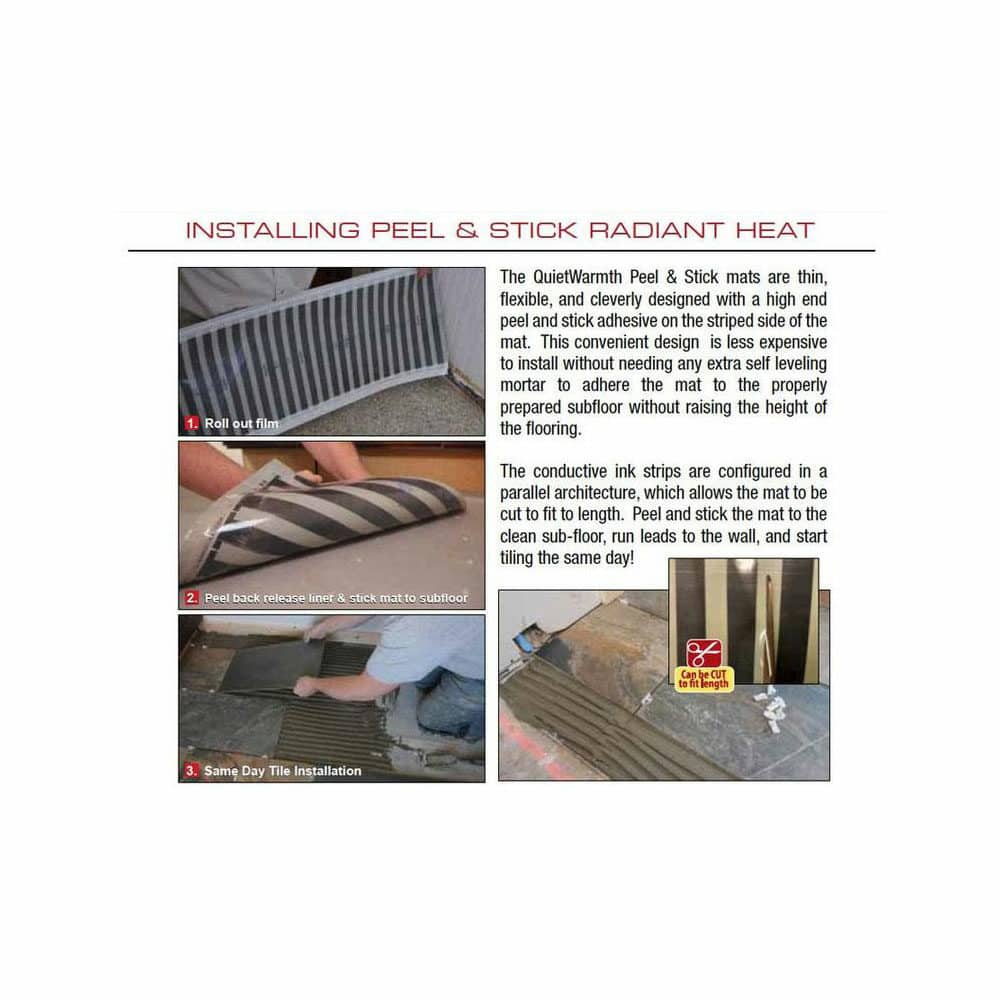
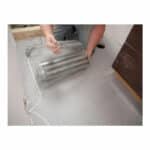
Peel and stick installtion
Connect up to 120 sq ft of mats wired in parallel on 1 thermostat with 120v systems, or 240 sq ft of mats on 240v systems
Cut to fit length
Mats can be shortened (width cannot be altered)
Fast installation, no extra mortars or mess
30 minute installation time (based on 60 sq ft area)
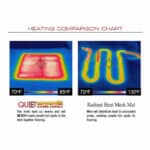
Energy efficient
Up to 6¢ per hour (based on 60 sq ft and typical use)
12 watts per sq ft
Available in 120V or 240V
UL listed for safety
Control temperature with an available floor sensing thermostat
FAQs
View All QuestionsIf you are looking for a test report please send an email to [email protected] and specify the product and type of report you are needing. We would be more than happy to email you a copy of any testing data that we have.
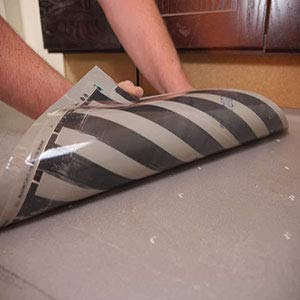
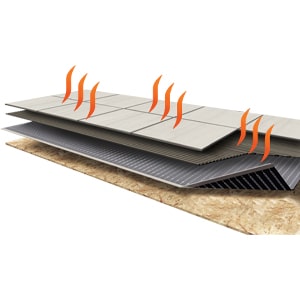
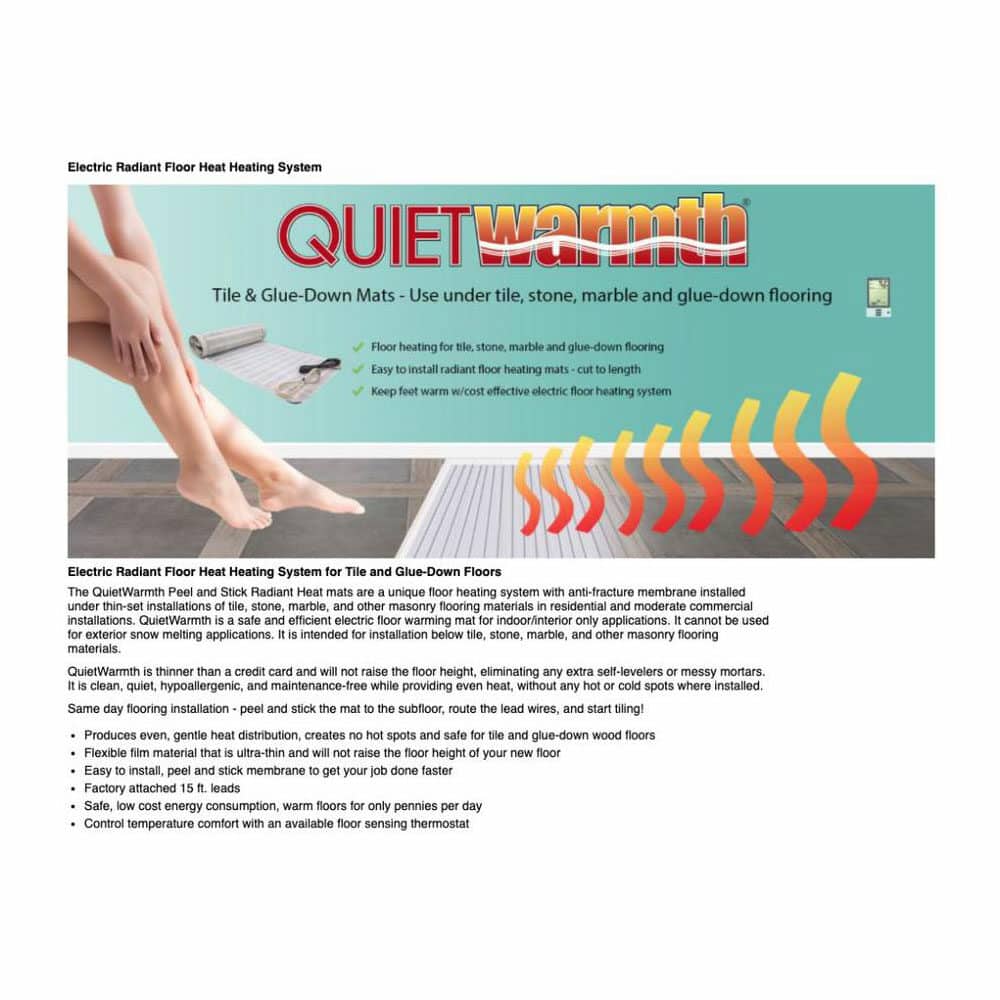
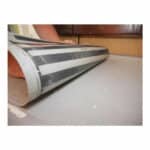
The QuietWarmth Tile mat comes with a convenient “peel-and-stick” design; which will adhere directly to the properly prepared subfloor. Once the mat is installed over the subfloor and the lead wires properly routed, then you will install the tile flooring over the top of the mat with an appropriate thinset.
Yes, the QuietWarmth Radiant Heating Mats can be adjusted to length by cutting in between the solid black bars, on the dotted line. You cannot alter the width of the mats. The QuietWarmth Tile mats need to be properly sealed prior to installing tile floor covering. Refer to our installation guides for complete instruction prior to installing.
You can connect multiple QuietWarmth mats by wiring them in parallel and joining them together in a junction box, then connecting the junction box to the thermostat. The 120V system can handle up to 150 square feet per dedicated circuit; the 240V system can handle up to 300 square feet per dedicated circuit. We recommend you consult with a licensed electrician and read our full installation instructions prior to beginning your installation.
The mats cannot be cut to width, nor can they have a circle cut out of them; they can only be cut to length in a straight line between the solid black conducting bars. Depending on your room dimensions, you could install separate mats along the side and in front of the toilet. If there is not enough space to install a mat on the sides of the toilet, you would install the mat only in front of the toilet.
The QuietWarmth Tile system can be used in any bathroom floor environment. It is not approved for use in the shower.
You can connect multiple QuietWarmth mats by wiring them in parallel and joining them together in a junction box, then connecting the junction box to the thermostat. The 120V system can handle up to 150 square feet per dedicated circuit; the 240V system can handle up to 300 square feet per dedicated circuit. We recommend you consult with a licensed electrician and read our full installation instructions prior to beginning your installation.
Yes, the QuietWarmth Radiant Heating Mats can be adjusted to length by cutting in between the solid black bars, on the dotted line. You cannot alter the width of the mats. The QuietWarmth Tile mats need to be properly sealed prior to installing tile floor covering. Refer to our installation guides for complete instruction prior to installing.
QuietWarmth cannot be used with nail-down installations. If a mat is punctured, the function and safety would be compromised and it must be replaced.
The cut portion of the QuietWarmth Float and QuietWarmth Tile mats are not reusable and should be discarded. Our QuietWarmth 2-in-1 Float Mats have lead wires on both ends, so you are able to use both ends of the cut mat.
You can install QuietWarmth mats on bathroom floors. The mats cannot be placed in the shower.
The QuietWarmth Tile system is designed to be installed under ceramic, porcelain, or natural stone tile that require a thinset or mortar installation. The QuietWarmth Float system is designed to be installed under floating floor installations.
QuietWarmth is designed as a comfort heat system, however it will provide some ambient heat. To determine whether this system will provide primary heat in your room, you would need to conduct a J-Calculation for heat loss.
The proper mat voltage is determined by the power supply in your home. Please consult with a licensed electrician for further guidance.
No, this product is approved for indoor use only.
The QuietWarmth Tile mat is installed using the built-in “peel-and-stick” backing over your properly prepared subfloor. We recommend using a latex modified thinset to install your tile. Please defer to the tile and thinset manufacturers to determine which specific product is best suited for your application.
The amp draw for one QWT1.5X10F120 mat is 1.5amp. The system will need to be on a dedicated 20amp circuit from the main electrical box per the national electrical code. One of our QuietWarmth thermostats will control up to 150sqft of these mats on one of those 20amp dedicated circuits. The thermostat is rated for 15amps. The dedicated 20amps on the circuit is designed for built in overage per the national code.
No, this product is not designed to be installed in showers or other areas where they will frequently be directly exposed to water.
QuietWarmth Tile mats are approved for use with natural stone tile including marble.
QuietWarmth Float is approved for underneath floating luxury vinyl flooring. For glue-down luxury vinyl flooring you will need to use the QuietWarmth Tile system.
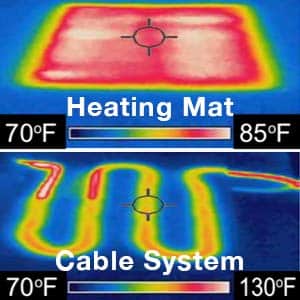
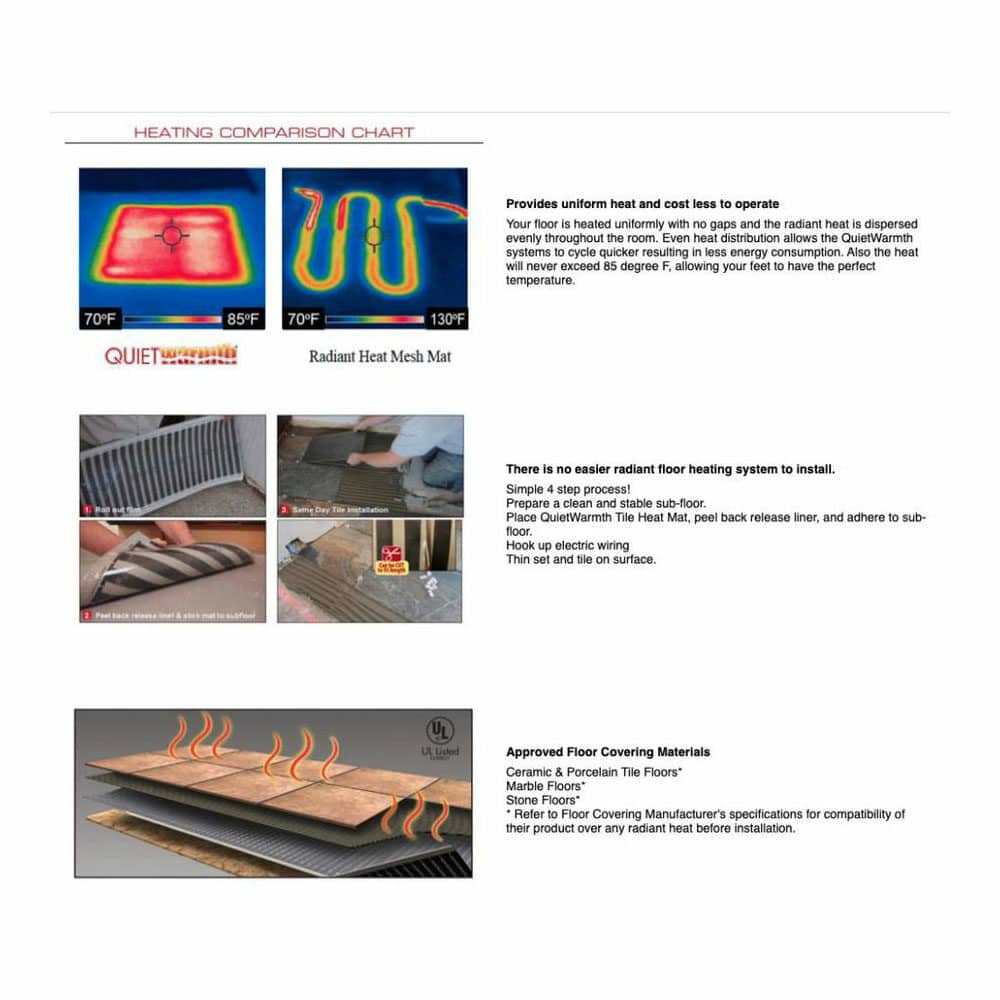
The maximum temperature of the mat is 84-85 F. This system puts out 12 watts (40.94BTUs) per square foot.
When installing the QuietWarmth radiant heat system, the temperature sensor (included with the thermostat) should be adjacent to the long side of one mat, parallel to the length. It should not cross over the mat. You want to locate it roughly 6″-12″ out from the wall. See the installation instructions for further explanation.
The QuietWarmth system is not designed to be connected to a power cord and plugged in to an outlet. Per National Electrical Code, this product needs to be wired to its own 20 amp dedicated circuit.
Reviews
Leave ReviewsWorks well, heats great.
Warm floors!
[This review was collected as part of a promotion.] I had never heard of Quiet Warmth before now, and I am so glad I got the chance to try out the Electric System for Tile! It is super simple to install, heats evenly, and my cats just love sleeping by it.
works great , very nice warm floors...
works great , very nice warm floors
Compatible Floorings
Recommended Accessories
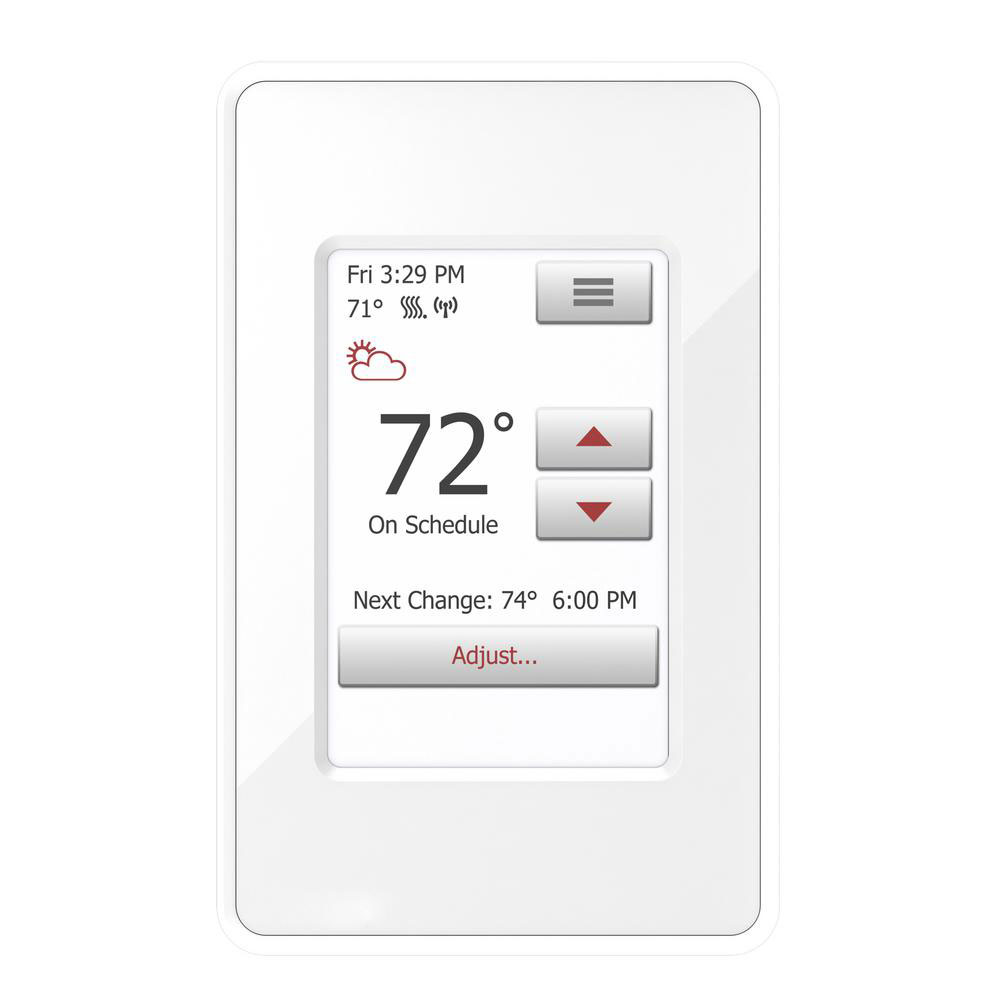
QuietWarmth Thermostats
- Sturdy resin construction ensures durability for years
- Power log maintains a track of energy consumption costs
- Includes 7-day programmable options for an intuitive operation
Where To Buy

Distributor
Click here to view distributors
Online Store
Click here to view online retailersFind Distributor
To help find a local distributor in your area with the right inventory levels, please fill out the form below.
Online Stores
Amazon
Home Depot
Home Depot Canada
LL Flooring
Lowes
Menards
Walmart
Warm Your Floor
Wayfair
Enhanced Content
Recent QuietWarmth Tile Heat Mats Articles
Find all blog articles about QuietWarmth Tile Heat Mats
All Articles

Can You Cut All Three QuietWarmth Versions?

How To Cut QuietWarmth Tile Mats

Do Heated Floors Use a Lot of Electricity
How to Install QuietWarmth Peel & Stick Membrane to the Subfloor

The Best Places to Install Radiant Floor Heating
Convection Heat Vs Electric Radiant Floor Heating

Does Radiant Floor Heat Add Value to Your Home?
The Pros and Cons of Heating Floors